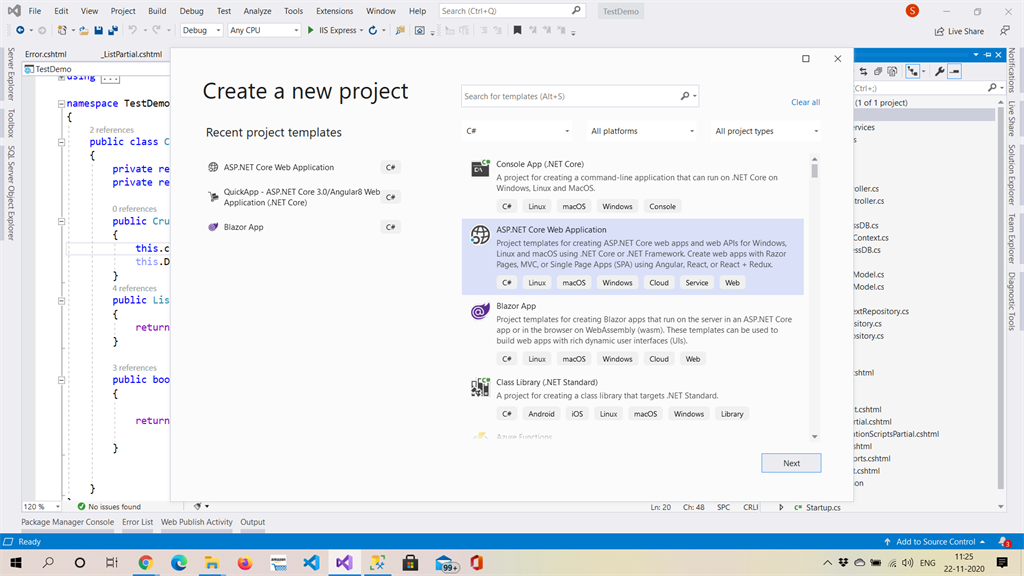
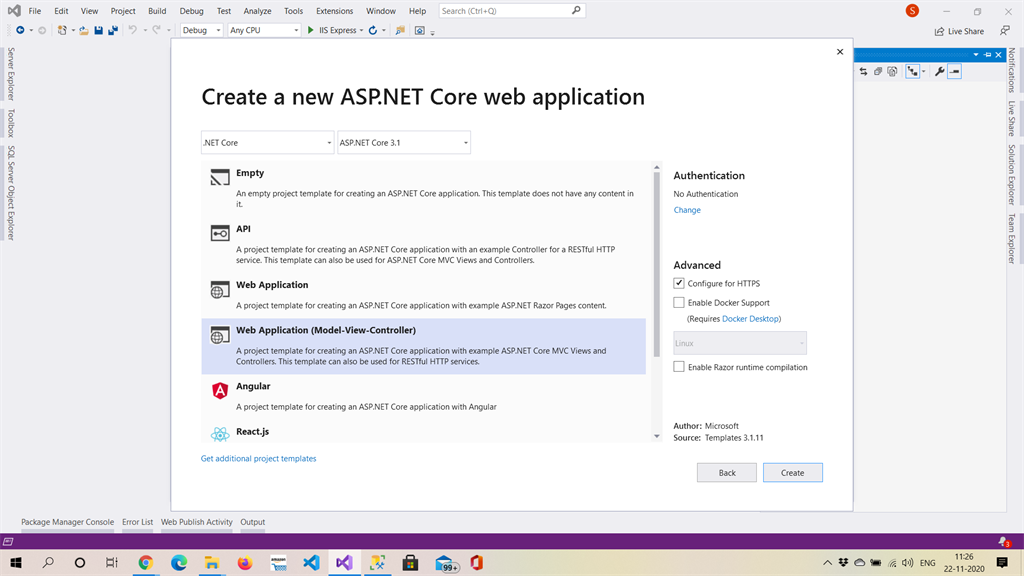
In this article, we will add a Razor component to our existing .NET Core MVC project.
Blazor is a framework for building interactive client-side web UI with .NET. With it, you can:
Create rich interactive UIs using C# instead of JavaScript.
Share server-side and client-side app logic written in .NET.
Render the UI as HTML and CSS for wide browser support, including mobile browsers.
Blazor apps are based on components. A component in Blazor is an element of UI, such as a page, dialog, or data entry form.
Let's start with a few simple steps.
Step 1
Step 2
Step 3
Add a Microsoft.AspNetCore.Components reference to your project if not available.
Step 4
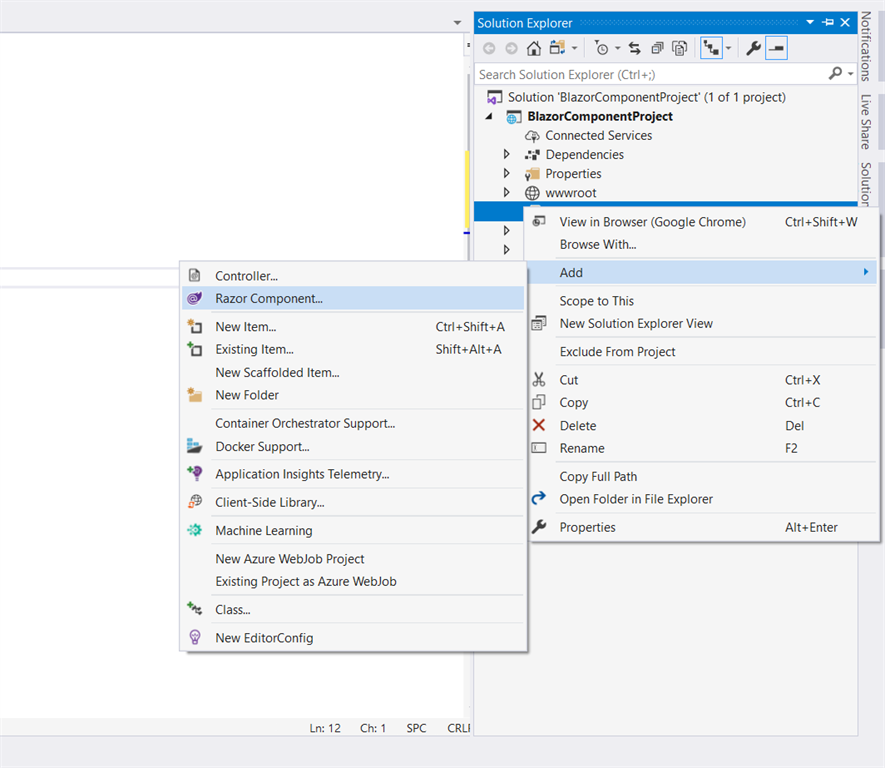
Add a Component folder inside the view/shared folder, then add a Razor component.
Step 5
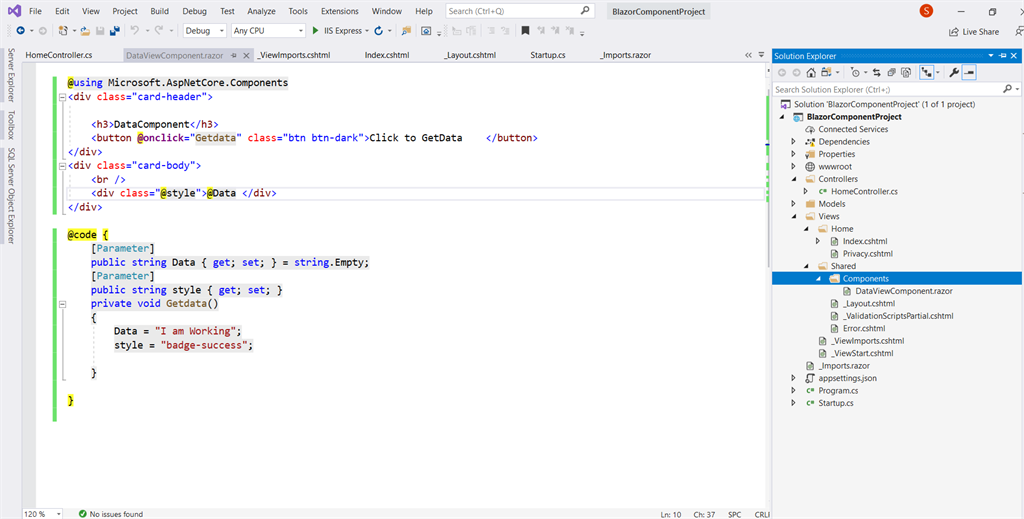
For the Razor component we have written a simple method named "GetData", which you can see below. Also, I have made 2 public properties for getting data from the view and decorating it with the attribute name as Parameter.
<div class="card-header">
<h3>DataComponent</h3>
<button @onclick="Getdata" class="btn btn-dark">Click to GetData </button>
</div>
<div class="card-body">
<br />
<div class="@style">@Data </div>
</div>
@code {
[Parameter]
public string Data { get; set; } = string.Empty;
[Parameter]
public string style { get; set; }
private void Getdata()
{
Data = "I am Working";
style = "badge-success";
}
}
Step 6
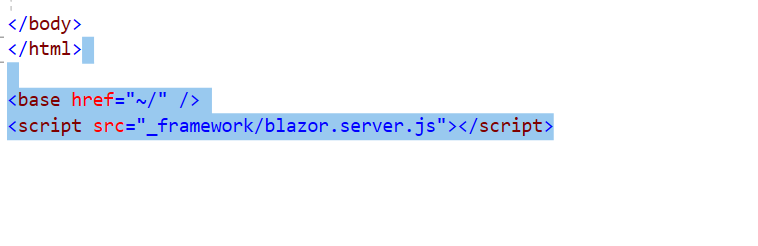
The below code you need to add to your _Layout.cshtml
This is for registering Blazor to your web application:
<base href="~/" />
<script src="_framework/blazor.server.js"></script>
Step 7
Add simple _Imports.razor file to your root of the project which consists of the below code. These namespaces are required to access the component features over your components.
@using System.Net.Http
@using Microsoft.AspNetCore.Authorization
@using Microsoft.AspNetCore.Components.Authorization
@using Microsoft.AspNetCore.Components.Forms
@using Microsoft.AspNetCore.Components.Routing
@using Microsoft.AspNetCore.Components.Web
@using Microsoft.JSInterop
@using System.IO

Step 8
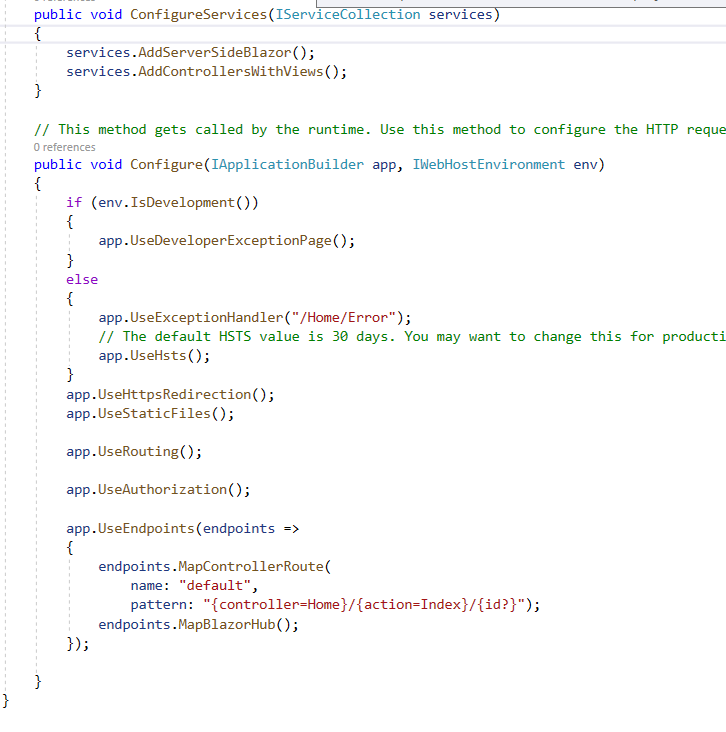
Add services.AddServerSideBlazor(); to your startup file method name ConfigureServices.
Add endpoints.MapBlazorHub(); to your Configure method.
public void ConfigureServices(IServiceCollection services)
{
services.AddServerSideBlazor();
services.AddControllersWithViews();
}
// This method gets called by the runtime. Use this method to configure the HTTP request pipeline.
public void Configure(IApplicationBuilder app, IWebHostEnvironment env)
{
if (env.IsDevelopment())
{
app.UseDeveloperExceptionPage();
}
else
{
app.UseExceptionHandler("/Home/Error");
// The default HSTS value is 30 days. You may want to change this for production scenarios, see https://aka.ms/aspnetcore-hsts.
app.UseHsts();
}
app.UseHttpsRedirection();
app.UseStaticFiles();
app.UseRouting();
app.UseAuthorization();
app.UseEndpoints(endpoints =>
{
endpoints.MapControllerRoute(
name: "default",
pattern: "{controller=Home}/{action=Index}/{id?}");
endpoints.MapBlazorHub();
});
}
Step 9
The last step is to render components on your View page.
You can see that I am passing 2 parameters as requested in our DataViewComponent.razor file
@{
ViewData["Title"] = "Home Page";
}
<div class="text-center">
<h1 class="display-4">Welcome</h1>
</div>
<div class="card">
@(await Html.RenderComponentAsync<BlazorComponentProject.Views.Shared.Components.DataViewComponent>(RenderMode.ServerPrerendered,new { Data="I came from Index",style= "badge-danger" }))
</div>

Our main focus in this article was to help you to integrate your existing Web application build in .NET Core MVC 3.1 with Blazor and use the Blazor components in it. Please refer to the project and debug the process for more understanding. I hope it helps!