Creating MVC Application
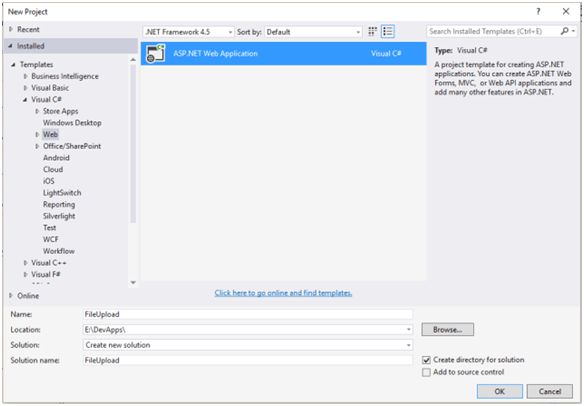
Let us implement these in a sample Application. Open Visual Studio. Go to File->New->Project. Give a suitable name to the Application. Click OK.
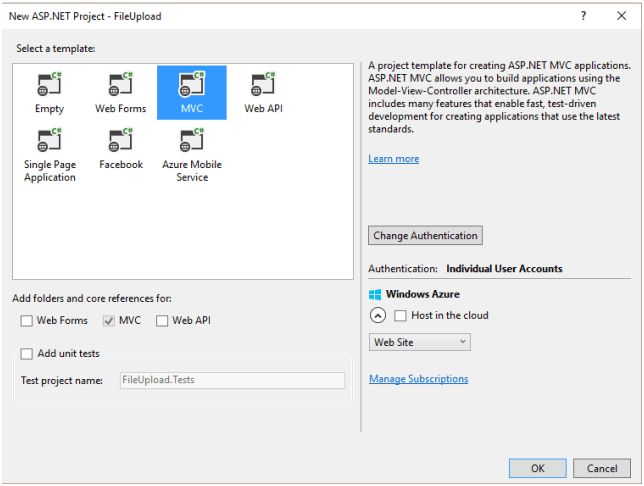
Select MVC Template. Click OK.
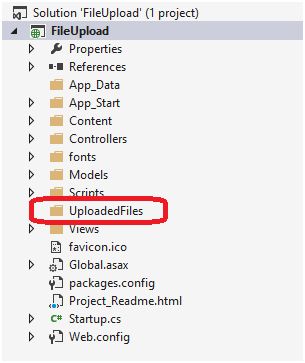
Adding Folder
We will add a folder to store the files in the application. Here, I have added a folder in the application.
Adding Controller
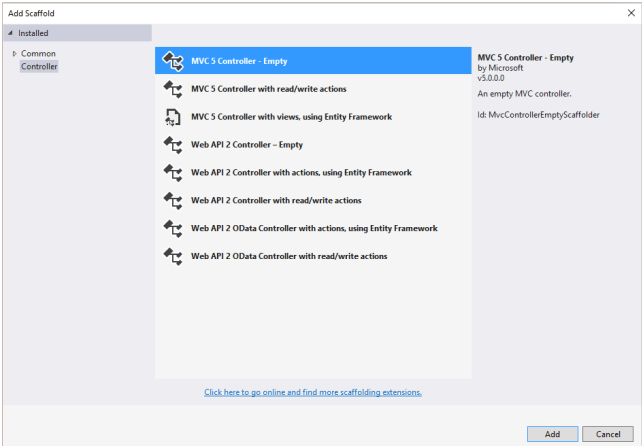
Let us add a controller. Right click on the Controller. Add->Controller.
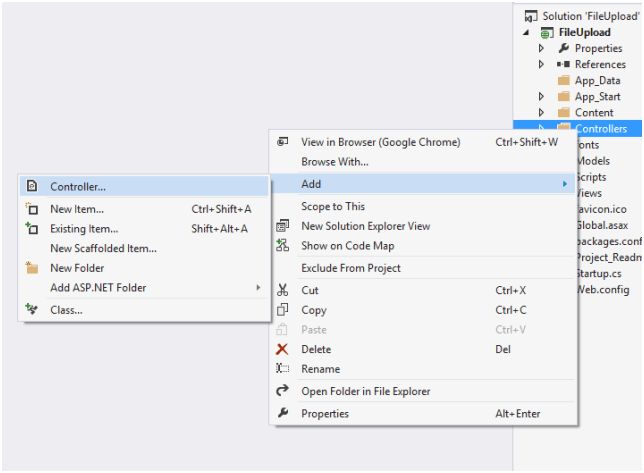
Select MVC 5 Controller -Empty. Click Add.
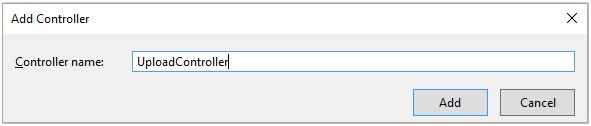
Give a suitable name to the controller.
Write the following code in the controller.
using System;
using System.Collections.Generic;
using System.IO;
using System.Linq;
using System.Web;
using System.Web.Mvc;
namespace FileUpload.Controllers
{
public class UploadController: Controller
{
// GET: Upload
public ActionResult Index()
{
return View();
}
[HttpGet]
public ActionResult UploadFile()
{
return View();
}
[HttpPost]
public ActionResult UploadFile(HttpPostedFileBase file)
{
try
{
if (file.ContentLength > 0)
{
string _FileName = Path.GetFileName(file.FileName);
string _path = Path.Combine(Server.MapPath("~/UploadedFiles"), _FileName);
file.SaveAs(_path);
}
ViewBag.Message = "File Uploaded Successfully!!";
return View();
}
catch
{
ViewBag.Message = "File upload failed!!";
return View();
}
}
}
}
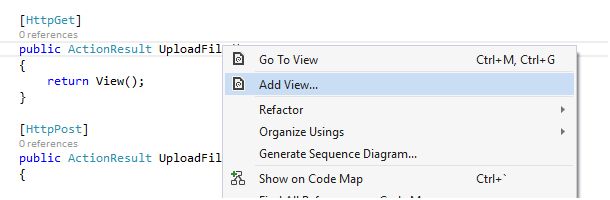
Adding View
Right click on UploadFileActionResult. Go to Add View.
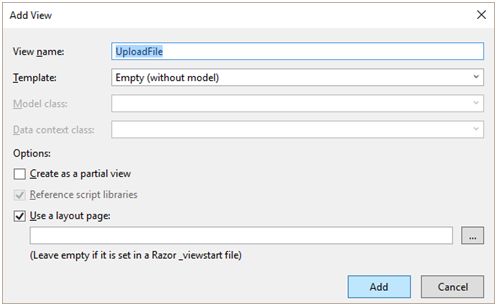
Select the empty template. Click add.
Write the following code in the View.
@{
ViewBag.Title = "UploadFile";
}
<h2>UploadFile</h2>
@using(Html.BeginForm("UploadFile","Upload", FormMethod.Post, new { enctype="multipart/form-data"}))
{
<div>
@Html.TextBox("file", "", new { type= "file"}) <br />
<input type="submit" value="Upload" />
@ViewBag.Message
</div>
}
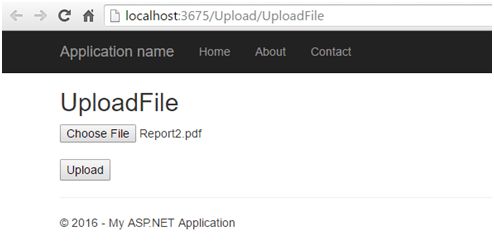
Browse the Application
Let us now run the Application and check if it is working fine or not. Browse the Application.
Click upload. I have debugged the code to verify that the file gets uploaded successfully.
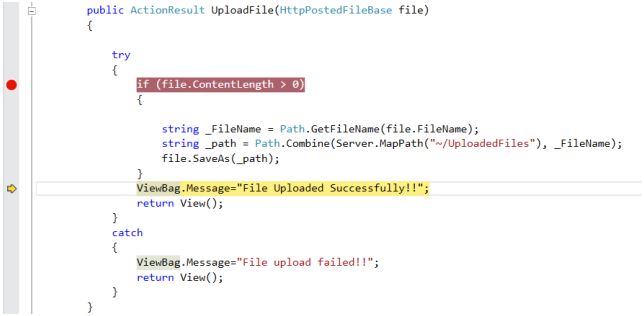
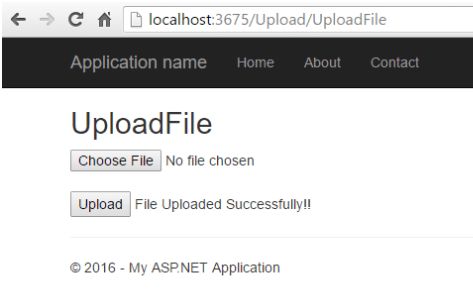
The code is working as per the expectations, as it hits the success message. We should get this message on the View, as well.
We will verify the file uploaded, by opening the folder in the Application’s directory.

Hence, we have just learned how to upload the file in ASP.NET MVC. I hope this post is useful to developers.