Introduction
This article will summarize adjusting routing configurations in an MVC project
The aim of the adjustments was to trace a problem that a certain action was hit multiple times
The problem had nothing to do with routing, but I investigated routing configuration in my search for the cause

The rest of the article will describe different types of routing supported and the configurations needed in the levels of,
- Application execution pipeline (middleware)
- The controllers and action
Definitions
Routing is responsible for matching incoming HTTP requests and dispatching those requests to the app's executable endpoints
Endpoints are the app's units of executable request-handling code. Endpoints are defined in the app and configured when the app starts
Types of routing
Conventional Based Routing
It is the basic routing type implemented by default.
You will find the middleware pipeline configured to implement this type through the following code in the startup.cs.
app.UseEndpoints(endpoints => {
endpoints.MapControllerRoute(name: "default", pattern: "{controller=Home}/{action=Index}/{id?}");
})
The HTTP request with a URL of format /Home/Index or Home/Index/1 will be processed by the action method Index n Home Controller or By Z Action method in the Y controller if the URL was http://abc.com/Y/Z.
Area Conventional Based Routing
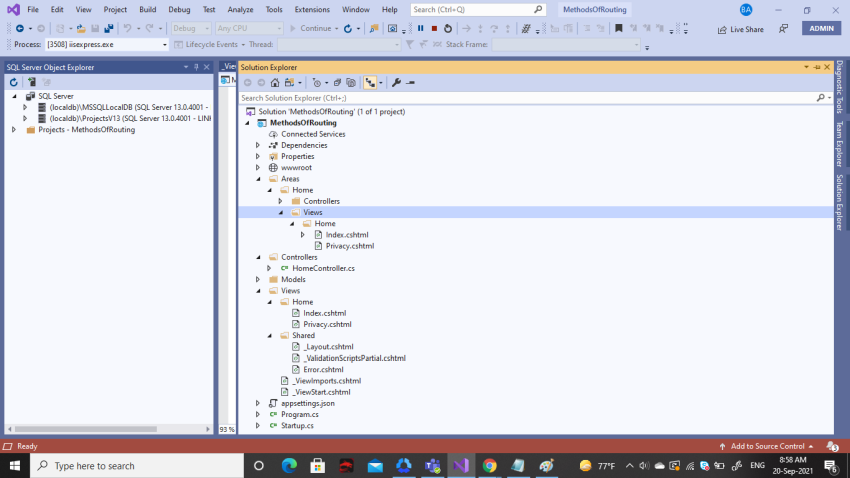
- Areas provide a way to partition an ASP.NET Core Web app into smaller functional groups
- Each group has its own set of Razor Pages, controllers, views, and models
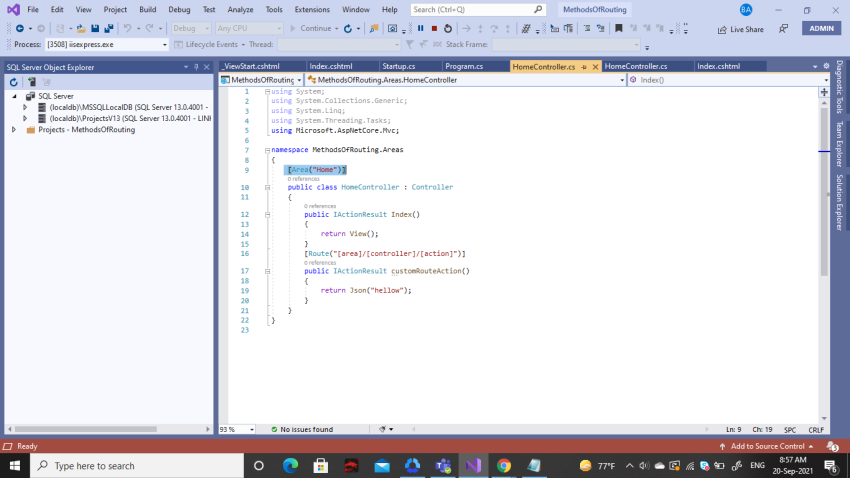
Controller level
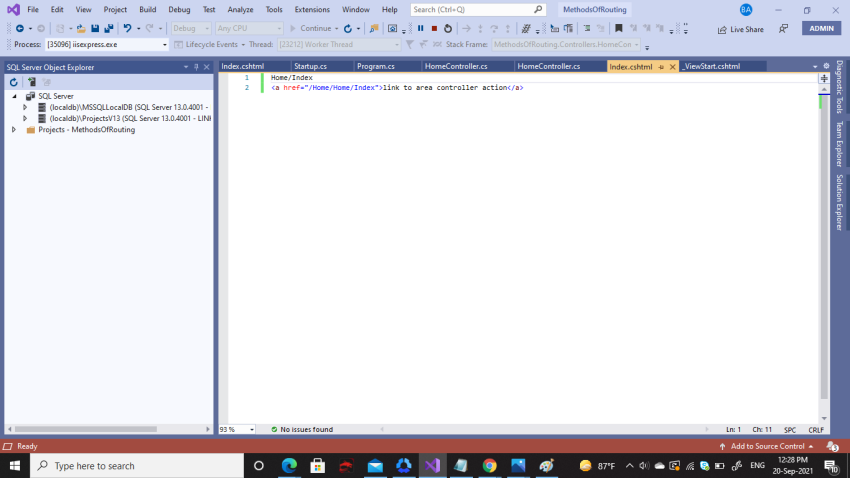
View Level
Application execution pipeline can be configured to enable area-based routing in either one of the following two ways.
Using a code similar to the previous one as follows,
endpoints.MapControllerRoute(name: "Area", pattern: "{area:exists}/{controller=Home}/{action=Index}/{id?}", defaults: new {
area = "Home"
});
Using MapAreaControllerRoute method IEndpointRouteBuilderInterface as in the following example,
endpoints.MapAreaControllerRoute(pattern: "{area}/{controller}/{action}/{id?}", name: "areas", areaName: "Home", defaults: new {
controller = "Home", action = "Index"
});
Mixed Conventional Based Routing
In Mixed Conventional Based Routing
The URL specified in the HTTP request is checked against the patterns specified in both routing types
Default routing is determined by finding a match against the patterns specified in each routing type in order
Attribute routing
Hopefully, we will discuss this in a later article.
Examples
Default routing type (conventional without area support).
configuration in the startup.cs
app.UseEndpoints(endpoints => {
endpoints.MapControllerRoute(name: "default", pattern: "{controller=Home}/{action=Index}/{id?}");
})
Result

Conventional with area support
Configuration in the startup.cs either,
endpoints.MapAreaControllerRoute(pattern: "{area}/{controller}/{action}/{id?}", name: "areas", areaName: "Home", defaults: new {
controller = "Home", action = "Index"
});
or,
endpoints.MapControllerRoute(name: "Area", pattern: "{area:exists}/{controller=Home}/{action=Index}/{id?}", defaults: new {
area = "Home"
});
Result

Mixed conventional
Example 1 - configuration
endpoints.MapControllerRoute(name: "default", pattern: "{controller=Home}/{action=Index}/{id?}");
endpoints.MapAreaControllerRoute(pattern: "{area}/{controller}/{action}/{id?}", name: "areas", areaName: "Home", defaults: new {
controller = "Home", action = "Index"
});
Result

Example 2 - Configuration
endpoints.MapAreaControllerRoute(pattern: "{area}/{controller}/{action}/{id?}", name: "areas", areaName: "Home", defaults: new {
controller = "Home", action = "Index"
});
endpoints.MapControllerRoute(name: "default", pattern: "{controller=Home}/{action=Index}/{id?}");
Result

Redirecting from an action in a controller not belonging to an area to an action belonging to an area.
From Controller this will work only if area conventional routing comes first in the startup.cs file as follows,
endpoints.MapAreaControllerRoute(pattern: "{area}/{controller}/{action}/{id?}", name: "areas", areaName: "Home", defaults: new {
controller = "Home", action = "Index"
});
endpoints.MapControllerRoute(name: "default", pattern: "{controller=Home}/{action=Index}/{id?}");
Otherwise, errors of too many directions will occur.

Through a hyperlink.
Example
Result

This article summarized different conventional routing implementation methods as well as ways to navigate between routes.