In this article, I'll explain how to create an ASP.NET MVC web application with two-factor authentication using Google Authenticator to decrease the possibility of account takeovers and boost user and account security.

As it authenticates users using two possible authentication factors, two-factor authentication is a wonderful technique to help secure user accounts.
In this article, we are not taking user id and password from database but using static data. Here we only learn about Two-Factor Authentication using Google Authenticator.
Two-Factor Authentication using Google Authenticator in Asp.Net MVC
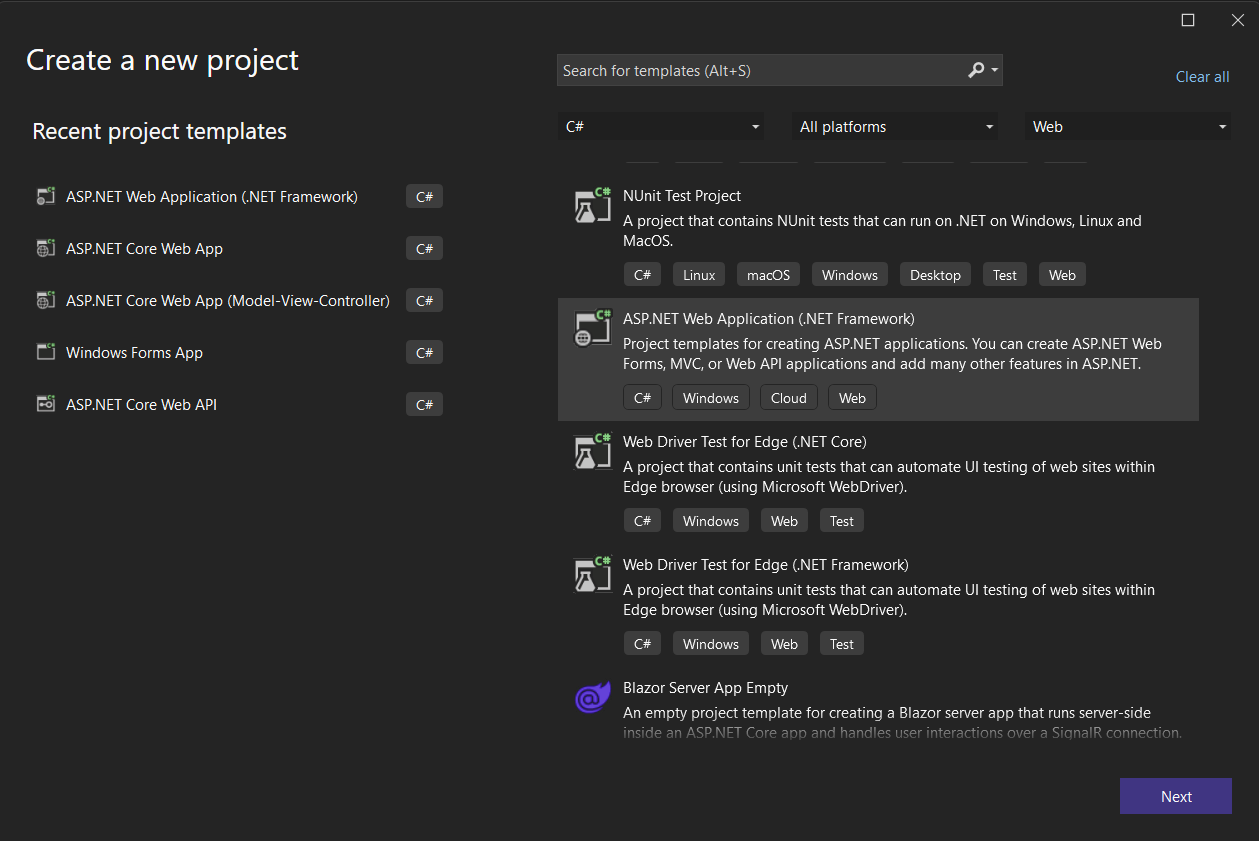
Step 1
Create a new project in Visual Studio, select an ASP.NET Web Application (.Net Framework), and press the Next button.
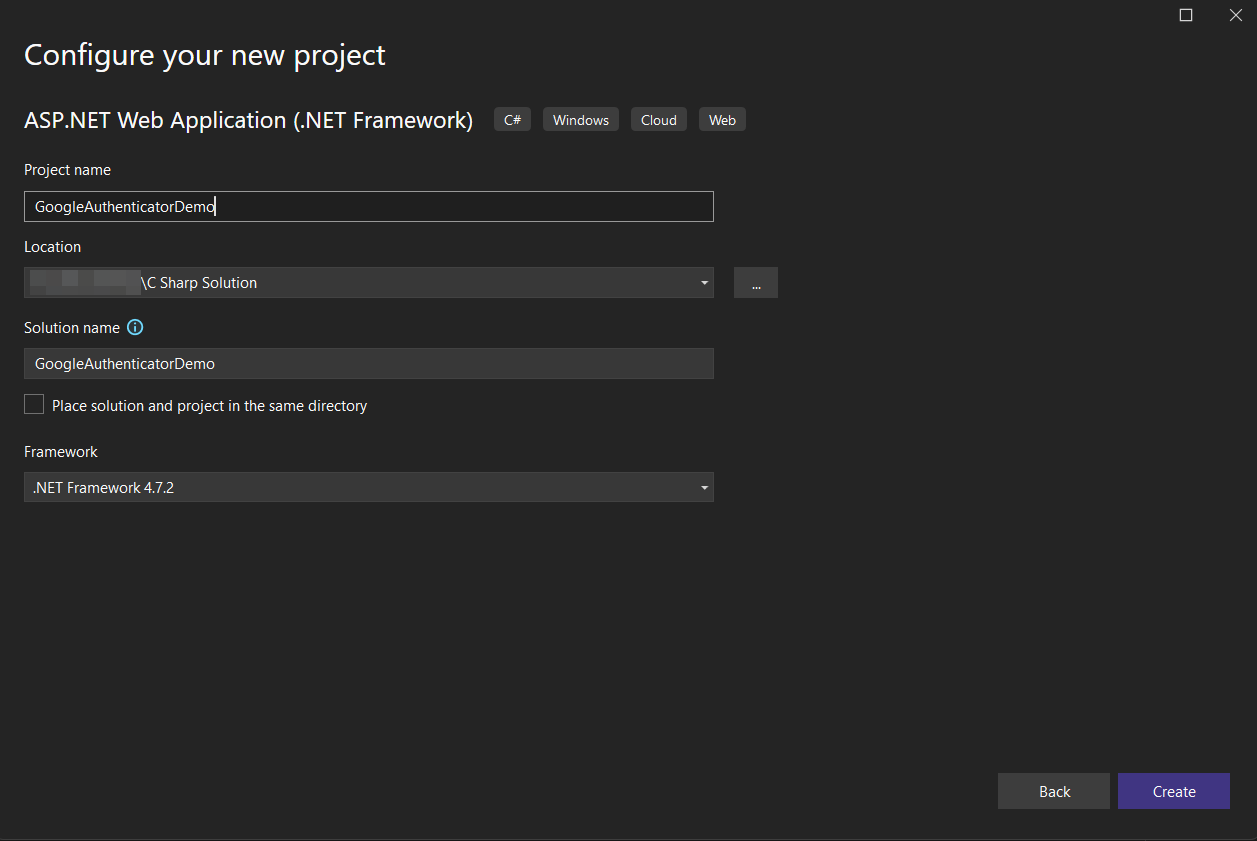
Step 2
Give the project a name, select the save location folder, and click on the Create button.
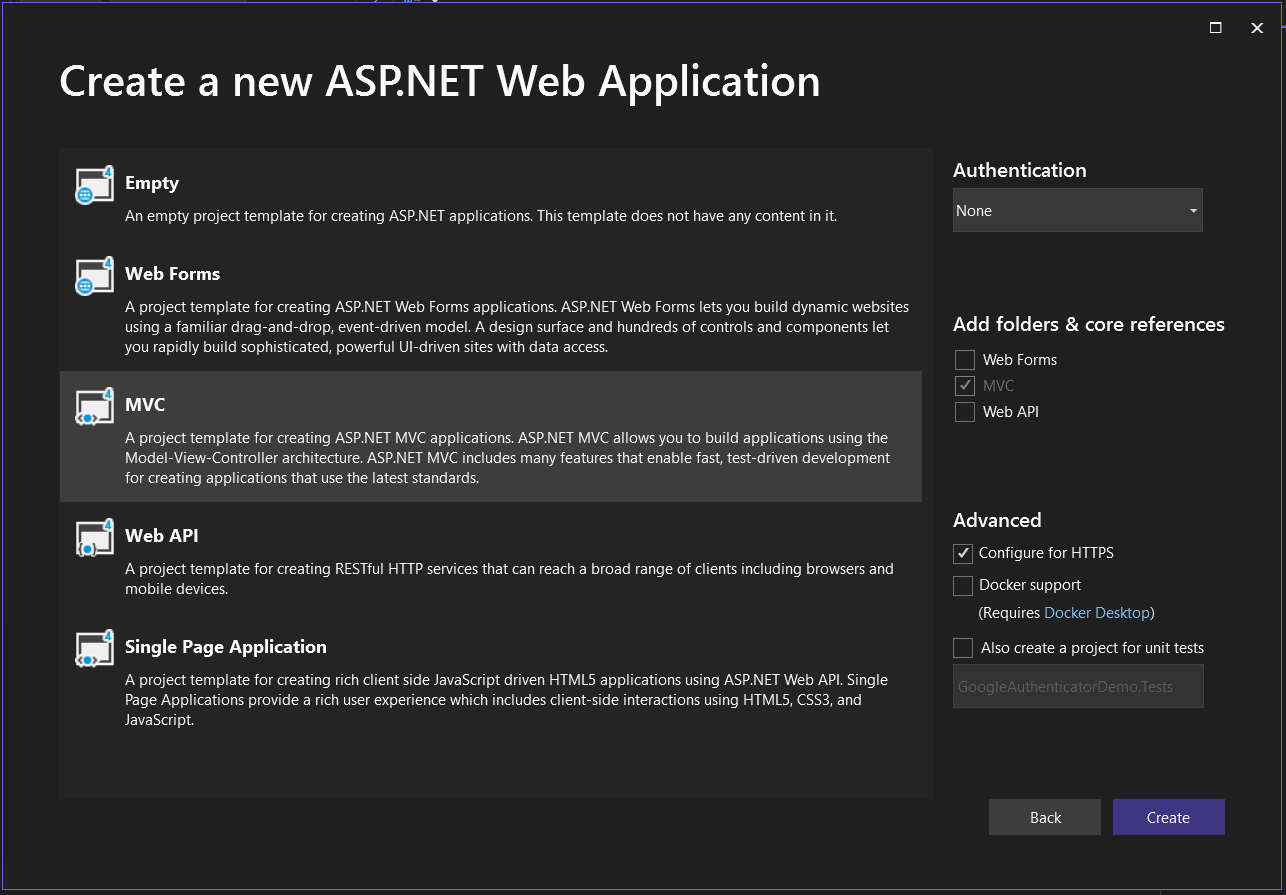
Step 3
Select MVC Option for project type and click on the Create button. Now your project is created.
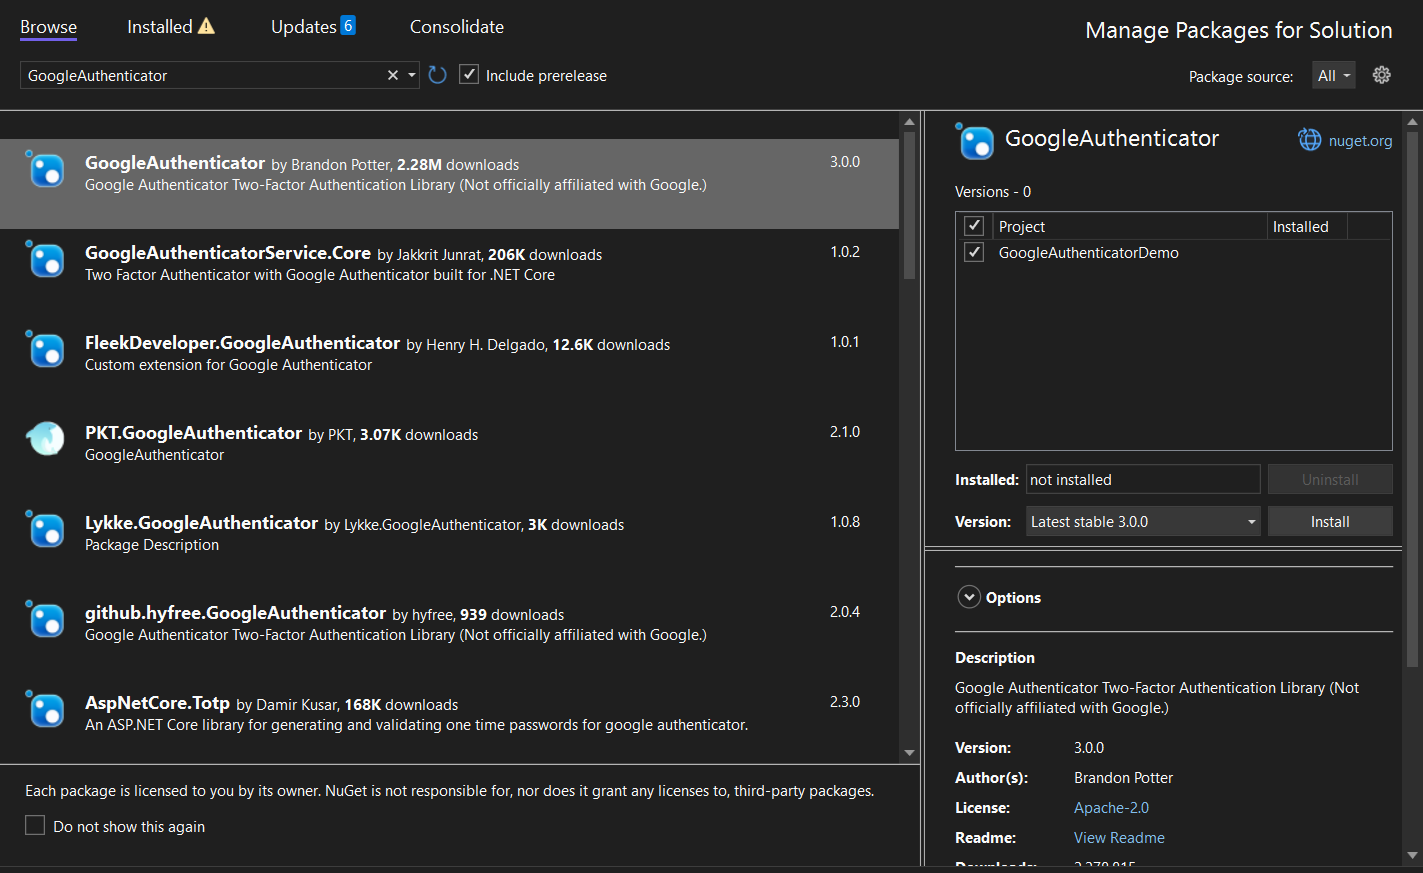
Step 4
Add the Google.Authenticator package from NuGet.
Go to Tools Menu - NuGet Package Manager - Manage NuGetPackages For Solution - Search for Google.Authenticator > Install > Close.
Step 5
Add the Model class LoginModel.cs under Model Folder for login details that stores the username and password.
using System;
using System.Collections.Generic;
using System.Linq;
using System.Web;
namespace GoogleAuthenticatorDemo.Models
{
public class LoginModel
{
public string UserName { get; set; }
public string Password { get; set; }
}
}
Step 6
Add the Google Authentication Private Key In Web.Config File under <appSettings>.
This key is not fixed; you can create it yourself with any character combination.
Any character combination use as private key in google authenticator.
<appSettings>
<add key="webpages:Version" value="3.0.0.0" />
<add key="webpages:Enabled" value="false" />
<add key="ClientValidationEnabled" value="true" />
<add key="UnobtrusiveJavaScriptEnabled" value="true" />
<add key="GoogleAuthKey" value="U1d2A3y4" />
</appSettings>
Step 7
Create a Login action method in your controller; in my case, it's HomeController.
public ActionResult Login()
{
Session["UserName"] = null;
Session["IsValidTwoFactorAuthentication"] = null;
return View();
}
Step 8
Right click on the Login action method and select Add View Option, and then select the following: Then click the Add Button button to add a view for this action method.
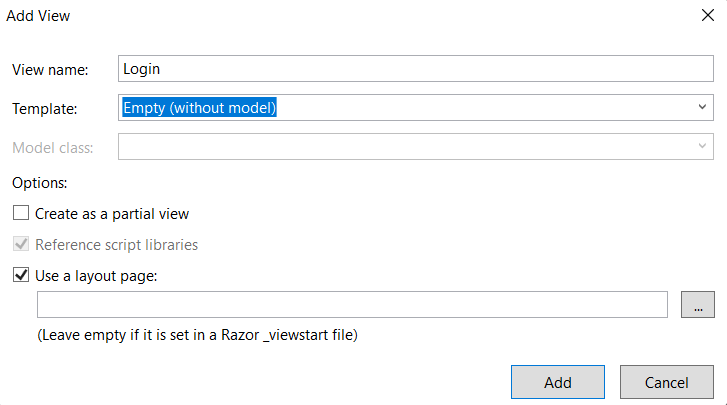
Now a new file is created under View > Home > Login.cshtml.
Step 9
Add the following code into Login.cshtml:
@model GoogleAuthenticatorDemo.Models.LoginModel
@{
ViewBag.Title = "Login";
}
<center>
<h2>Login Page</h2>
@if (ViewBag.Status == null || !ViewBag.Status)
{
<div>@ViewBag.Message</div>
<div>
@using (Html.BeginForm())
{
<div class="form-group">
<label for="UserName">UserName : </label>
@Html.TextBoxFor(a => a.UserName, new { @class = "form-control" })
</div>
<div class="form-group">
<label for="Password">Password : </label>
@Html.TextBoxFor(a => a.Password, new { @class = "form-control", type = "password" })
</div>
<input type="submit" value="Login" class="btn btn-default" />
}
</div>
}
else
{
<div>@ViewBag.Message</div>
<div>
<img src="@ViewBag.BarcodeImageUrl" width="300" height="300" />
</div>
<div>
Manual Setup Code : @ViewBag.SetupCode
</div>
<div>
@using (Html.BeginForm("TwoFactorAuthenticate", "Home", FormMethod.Post))
{
<input type="text" name="CodeDigit" />
<input type="submit" class="btn btn-success" />
}
</div>
}
</center>
Step 10
Create a Post type Login Action method in your controller and add the following code:
[HttpPost]
public ActionResult Login(LoginModel login)
{
bool status = false;
if (Session["Username"] == null || Session["IsValidTwoFactorAuthentication"] == null || !(bool) Session["IsValidTwoFactorAuthentication"])
{
string googleAuthKey = WebConfigurationManager.AppSettings["GoogleAuthKey"];
string UserUniqueKey = (login.UserName + googleAuthKey);
//Take UserName And Password As Static - Admin As User And 12345 As Password
if (login.UserName == "Admin" && login.Password == "12345")
{
Session["UserName"] = login.UserName;
//Two Factor Authentication Setup
TwoFactorAuthenticator TwoFacAuth = new TwoFactorAuthenticator();
var setupInfo = TwoFacAuth.GenerateSetupCode("UdayDodiyaAuthDemo.com", login.UserName, ConvertSecretToBytes(UserUniqueKey, false), 300);
Session["UserUniqueKey"] = UserUniqueKey;
ViewBag.BarcodeImageUrl = setupInfo.QrCodeSetupImageUrl;
ViewBag.SetupCode = setupInfo.ManualEntryKey;
status = true;
}
}
else
{
return RedirectToAction("Index");
}
ViewBag.Status = status;
return View();
}
Step 11
Create the ConvertSecretToBytes function in the controller.
private static byte[] ConvertSecretToBytes(string secret, bool secretIsBase32) =>
secretIsBase32 ? Base32Encoding.ToBytes(secret) : Encoding.UTF8.GetBytes(secret);
Step 12
Create a TwoFactorAuthenticate Action action method for your controller.
public ActionResult TwoFactorAuthenticate()
{
var token = Request["CodeDigit"];
TwoFactorAuthenticator TwoFacAuth = new TwoFactorAuthenticator();
string UserUniqueKey = Session["UserUniqueKey"].ToString();
bool isValid = TwoFacAuth.ValidateTwoFactorPIN(UserUniqueKey, token, false);
if (isValid)
{
HttpCookie TwoFCookie = new HttpCookie("TwoFCookie");
string UserCode =Convert.ToBase64String(MachineKey.Protect(Encoding.UTF8.GetBytes(UserUniqueKey)));
Session["IsValidTwoFactorAuthentication"] = true;
return RedirectToAction("Index");
}
ViewBag.Message = "Google Two Factor PIN is expired or wrong";
return RedirectToAction("Login");
}
Step 13
Create a Logoff Action Method in your controller to handle the logout action.
public ActionResult Logoff()
{
Session["UserName"] = null;
Session["IsValidTwoFactorAuthentication"] = null;
return RedirectToAction("Login");
}
Step 14
To handle an unauthorised login, add the following condition to all of your action methods, which in my case are three method.
public ActionResult Index()
{
if (Session["Username"] == null || Session["IsValidTwoFactorAuthentication"] == null || !(bool)Session["IsValidTwoFactorAuthentication"])
{
return RedirectToAction("Login");
}
return View();
}
public ActionResult About()
{
if (Session["Username"] == null || Session["IsValidTwoFactorAuthentication"] == null || !(bool)Session["IsValidTwoFactorAuthentication"])
{
return RedirectToAction("Login");
}
ViewBag.Message = "Your application description page.";
return View();
}
public ActionResult Contact()
{
if (Session["Username"] == null || Session["IsValidTwoFactorAuthentication"] == null || !(bool)Session["IsValidTwoFactorAuthentication"])
{
return RedirectToAction("Login");
}
ViewBag.Message = "Your contact page.";
return View();
}
Final HomeController.cs File
using Google.Authenticator;
using GoogleAuthenticatorDemo.Models;
using System;
using System.Collections.Generic;
using System.Linq;
using System.Text;
using System.Web;
using System.Web.Configuration;
using System.Web.Mvc;
using System.Web.Security;
namespace GoogleAuthenticatorDemo.Controllers
{
public class HomeController : Controller
{
public ActionResult Index()
{
if (Session["Username"] == null || Session["IsValidTwoFactorAuthentication"] == null || !(bool)Session["IsValidTwoFactorAuthentication"])
{
return RedirectToAction("Login");
}
return View();
}
public ActionResult About()
{
if (Session["Username"] == null || Session["IsValidTwoFactorAuthentication"] == null || !(bool)Session["IsValidTwoFactorAuthentication"])
{
return RedirectToAction("Login");
}
ViewBag.Message = "Your application description page.";
return View();
}
public ActionResult Contact()
{
if (Session["Username"] == null || Session["IsValidTwoFactorAuthentication"] == null || !(bool)Session["IsValidTwoFactorAuthentication"])
{
return RedirectToAction("Login");
}
ViewBag.Message = "Your contact page.";
return View();
}
public ActionResult Login()
{
Session["UserName"] = null;
Session["IsValidTwoFactorAuthentication"] = null;
return View();
}
[HttpPost]
public ActionResult Login(LoginModel login)
{
bool status = false;
if (Session["Username"] == null || Session["IsValidTwoFactorAuthentication"] == null || !(bool)Session["IsValidTwoFactorAuthentication"])
{
string googleAuthKey = WebConfigurationManager.AppSettings["GoogleAuthKey"];
string UserUniqueKey = (login.UserName + googleAuthKey);
//Take UserName And Password As Static - Admin As User And 12345 As Password
if (login.UserName == "Admin" && login.Password == "12345")
{
Session["UserName"] = login.UserName;
//Two Factor Authentication Setup
TwoFactorAuthenticator TwoFacAuth = new TwoFactorAuthenticator();
var setupInfo = TwoFacAuth.GenerateSetupCode("UdayDodiyaAuthDemo.com", login.UserName, ConvertSecretToBytes(UserUniqueKey, false), 300);
Session["UserUniqueKey"] = UserUniqueKey;
ViewBag.BarcodeImageUrl = setupInfo.QrCodeSetupImageUrl;
ViewBag.SetupCode = setupInfo.ManualEntryKey;
status = true;
}
}
else
{
return RedirectToAction("Index");
}
ViewBag.Status = status;
return View();
}
private static byte[] ConvertSecretToBytes(string secret, bool secretIsBase32) =>
secretIsBase32 ? Base32Encoding.ToBytes(secret) : Encoding.UTF8.GetBytes(secret);
public ActionResult TwoFactorAuthenticate()
{
var token = Request["CodeDigit"];
TwoFactorAuthenticator TwoFacAuth = new TwoFactorAuthenticator();
string UserUniqueKey = Session["UserUniqueKey"].ToString();
bool isValid = TwoFacAuth.ValidateTwoFactorPIN(UserUniqueKey, token, false);
if (isValid)
{
HttpCookie TwoFCookie = new HttpCookie("TwoFCookie");
string UserCode = Convert.ToBase64String(MachineKey.Protect(Encoding.UTF8.GetBytes(UserUniqueKey)));
Session["IsValidTwoFactorAuthentication"] = true;
return RedirectToAction("Index");
}
ViewBag.Message = "Google Two Factor PIN is expired or wrong";
return RedirectToAction("Login");
}
public ActionResult Logoff()
{
Session["UserName"] = null;
Session["IsValidTwoFactorAuthentication"] = null;
return RedirectToAction("Login");
}
}
}
Step 15
All pages display the user's name and the option to log out. So add that code to the _Layout.cshtml page, and your _Layout.cshtml should now look like this:
<!DOCTYPE html>
<html>
<head>
<meta charset="utf-8" />
<meta name="viewport" content="width=device-width, initial-scale=1.0">
<title>@ViewBag.Title - My ASP.NET Application</title>
@Styles.Render("~/Content/css")
@Scripts.Render("~/bundles/modernizr")
</head>
<body>
<div class="navbar navbar-inverse navbar-fixed-top">
<div class="container">
<div class="navbar-header">
<button type="button" class="navbar-toggle" data-toggle="collapse" data-target=".navbar-collapse" title="more options">
<span class="icon-bar"></span>
<span class="icon-bar"></span>
<span class="icon-bar"></span>
</button>
@Html.ActionLink("Application name", "Index", "Home", new { area = "" }, new { @class = "navbar-brand" })
</div>
<div class="navbar-collapse collapse">
<ul class="nav navbar-nav">
<li>@Html.ActionLink("Home", "Index", "Home")</li>
<li>@Html.ActionLink("About", "About", "Home")</li>
<li>@Html.ActionLink("Contact", "Contact", "Home")</li>
</ul>
@if (@HttpContext.Current.Session["UserName"] != null && @HttpContext.Current.Session["IsValidTwoFactorAuthentication"] != null)
{
if(bool.Parse(@HttpContext.Current.Session["IsValidTwoFactorAuthentication"].ToString()) == true)
{
<ul class="nav navbar-nav navbar-right">
<li style="color: White; font-size: 15px; margin-top: 10px; margin-right: 100px;">
USER: @HttpContext.Current.Session["UserName"].ToString()
</li>
<li>
@Html.ActionLink("Log Out", "Logoff", "Home", new { style = "color:White; font-size: 15px" })
</li>
</ul>
}
}
</div>
</div>
</div>
<div class="container body-content">
@RenderBody()
<hr />
<footer>
<p>© @DateTime.Now.Year - My ASP.NET Application</p>
</footer>
</div>
@Scripts.Render("~/bundles/jquery")
@Scripts.Render("~/bundles/bootstrap")
@RenderSection("scripts", required: false)
</body>
</html>
Step 16
Display the username on the index page. So, add the following code to your index.cshtml page, and your index.cshtml should now look like this:
@{
ViewBag.Title = "Home Page";
}
<div class="jumbotron">
<h1>ASP.NET</h1>
<p class="lead">ASP.NET is a free web framework for building great Web sites and Web applications using HTML, CSS and JavaScript.</p>
<p><a href="https://asp.net" class="btn btn-primary btn-lg">Learn more »</a></p>
</div>
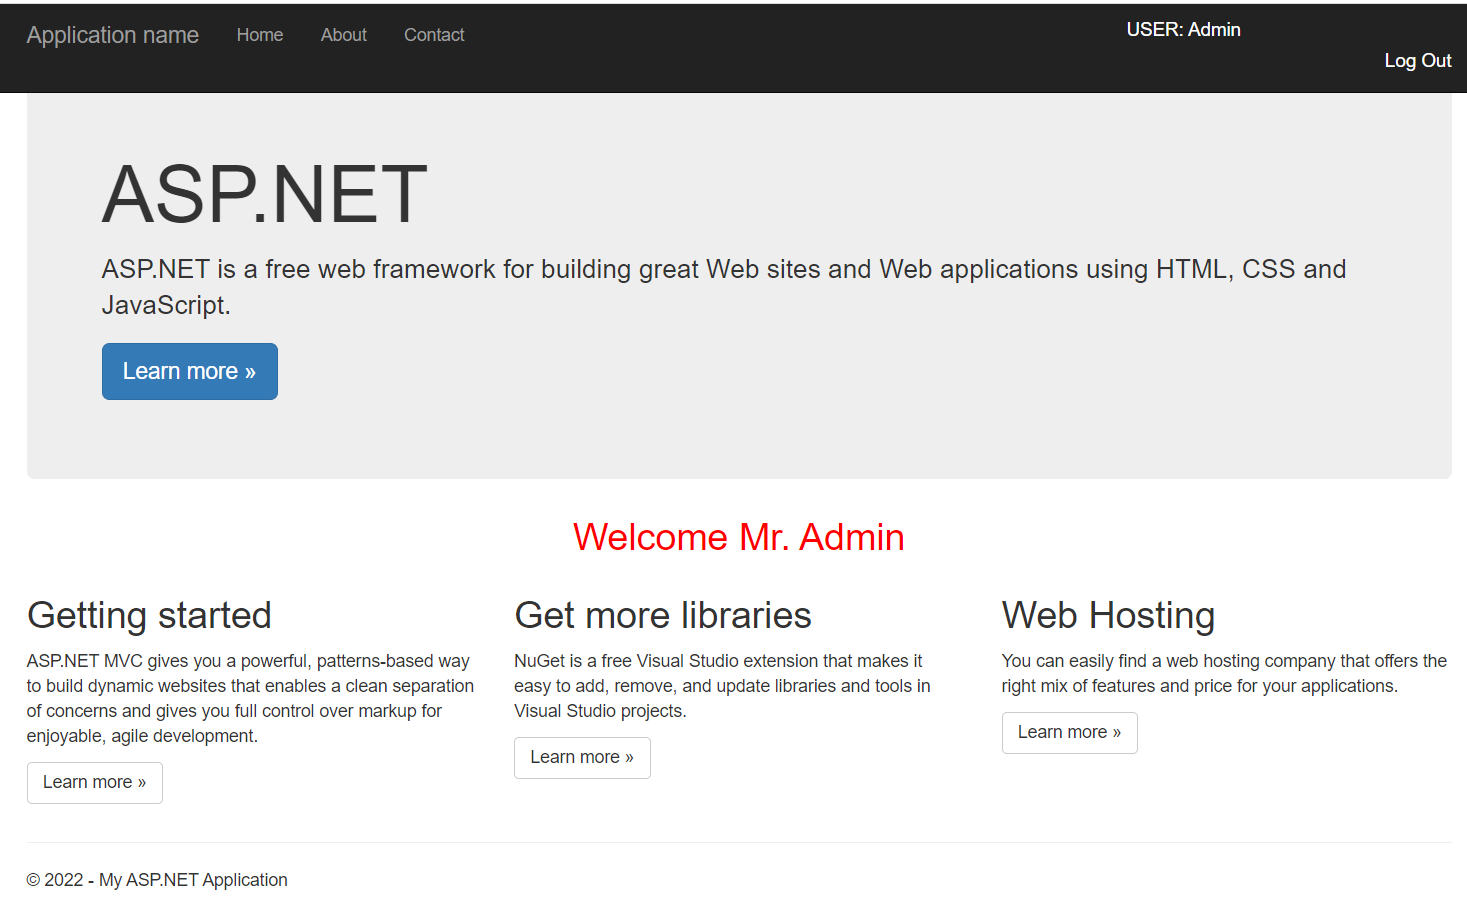
<center><h2 style="color: red;">Welcome Mr. @HttpContext.Current.Session["UserName"].ToString()</h2></center>
<div class="row">
<div class="col-md-4">
<h2>Getting started</h2>
<p>
ASP.NET MVC gives you a powerful, patterns-based way to build dynamic websites that
enables a clean separation of concerns and gives you full control over markup
for enjoyable, agile development.
</p>
<p><a class="btn btn-default" href="https://go.microsoft.com/fwlink/?LinkId=301865">Learn more »</a></p>
</div>
<div class="col-md-4">
<h2>Get more libraries</h2>
<p>NuGet is a free Visual Studio extension that makes it easy to add, remove, and update libraries and tools in Visual Studio projects.</p>
<p><a class="btn btn-default" href="https://go.microsoft.com/fwlink/?LinkId=301866">Learn more »</a></p>
</div>
<div class="col-md-4">
<h2>Web Hosting</h2>
<p>You can easily find a web hosting company that offers the right mix of features and price for your applications.</p>
<p><a class="btn btn-default" href="https://go.microsoft.com/fwlink/?LinkId=301867">Learn more »</a></p>
</div>
</div>
You can design your page yourself and according to your needs, but I've used default content, only adding a username to understand the concept.
Step 17
Now run your project.
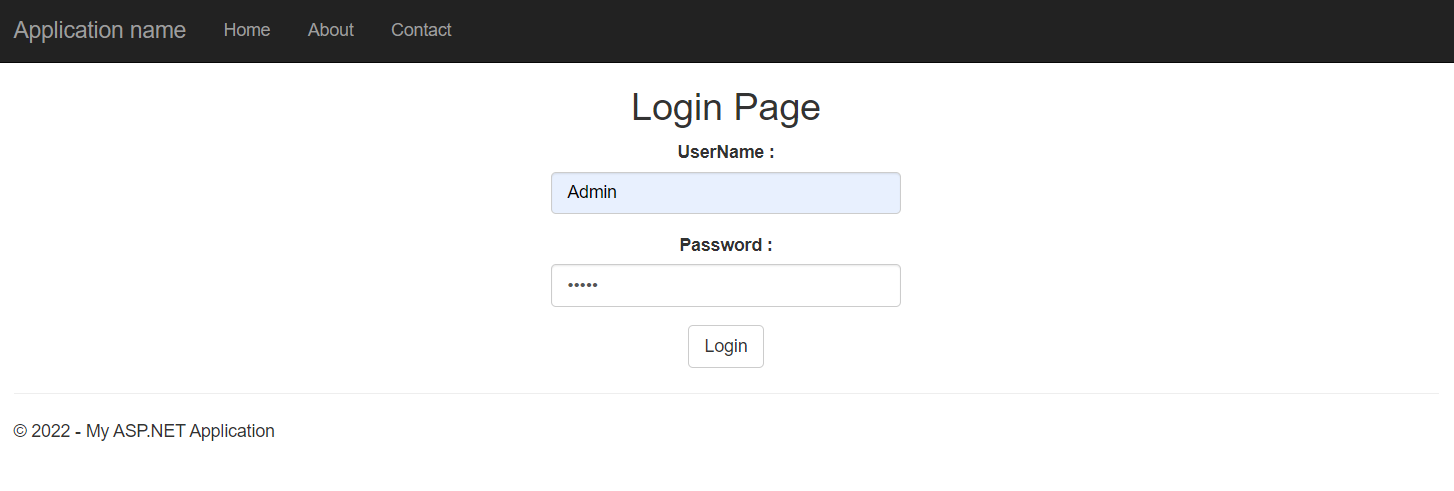
When you run the project, by default, the index method will invoke but not authorize, so it will redirect to the login page.
Enter "Admin" as the user name and "12345" as the password, then click the login button.
 \Step 18
After clicking the login button, a QR code and the setup key for two-factor authentication were generated, which will be used later on the mobile app for code generation.
Step 19
Install the Google Authenticator app from the Play Store or here on your mobile device, and open it; you have two options: scan a QR code or enter a setup key.
We scan the QR code here, so you only have one Authenticator Code, which will change after a while. Enter this code on your website.
Step 20
If your code is correct, you will be redirected to your index page after clicking the submit button in the above screen.
As you can see, the implementation of Google Authenticator in ASP.Net MVC is very simple.
In this article, we learned about Two-Factor Authentication using Google Authenticator in Asp.Net MVC.
Thank you for reading my article. Please leave your comments in the comment box below.
Enjoy Coding!